Wednesday, 9 September 2015

Brazilian Festa Junina


In September we talked about the Brazilian "Festa Junina"! The winter country party in Brazil that traditionally happens in June (hence the name "Junina"). Being in the South Hemisphere, the winter months in Brazil are the same as in New Zealand - June, July and August. So sometimes we have the "Festa Junina" happening in the other months too. Although we welcome the Spring in September, we had a fantastic time in our party last Saturday. And remember, the winter in most parts of Brazil is very mild, specially in the areas near the Equator Line! The south of Brazil though can get very cold.

It was great to see all the children dressed up as we do in Brazil for "Festa Junina"!! The straw hat and the moustache for the boys was a must and the checked shirts and ponytails for the girls were awesome too! Even the parents joined in the fun!

We started our meeting as usual with our talk about the country. Geography, continent, history, flag, language etc. The children were great counting the numbers in Portuguese and again I was amazed by their knowledge of the flags around the world in our Flag Game!

The fun started with our party!! Traditional Brazilian music at "Festa Junina"  - "Forro" - played during the party and we danced the "Quadrilha". Check some of the photos below. Traditional games were set up around the hall and the children had fun choosing which ones they wanted to play first. Great help from the parents here supervising all the games, thank you! Our craft activity was a hit too! Buntings are the decoration you will see in every "Arraia" - as we call in Brazil (the place where the party happens). 

The food was so yummy!! Cakes are very traditional in our winter party as well as corn, sweet potatoes (that we actually cook in the bonfire during the party in Brazil!) and the very tasty Brazilian hot dog with lots of home-made sauce!! The cheese bread were an extra touch of Brazilian finger food. Not used much in "Festa Junina", but you will see pretty much in every birthday party, get togethers etc... everyone loves them and it is so easy to make!! Find its very easy recipe at the end of this post.

So, enjoy the pictures below, while I will actually make another batch of cheese bread for afternoon tea!


We started with the Brazil presentation 


Who knows this flag?


Great Costumes!                                                   My little helper!


 And the dance starts!!  "Quadrilha"


Time for some games!!

Can you dance with a potato in your forehead?


 Hit the cans!


Potato on the Spoon!


Sack Race!


Food yummie food!


Making buntings


And dancing the limbo with them!


Thank you everyone!!


The Brazilian Cheese Bread - Easy Peasy!!

Easy Brazilian Cheese Bread Recipe
  • Prep time: 5 minutes
  • Cook time: 15 minutes
  • Yield: Enough batter for 16 mini muffin sized cheese breads.

brazilian-cheese-bread-2.jpg

Ingredients

  • 1 egg*
  • 1/3 cup olive oil
  • 2/3 cup milk
  • Scant 1 1/2 cups (170 grams) tapioca flour
  • 1/2 cup (packed, about 66 grams) grated cheese, your preference, though we got the best results from Mexican farmer's cheese - queso fresco
  • 1 teaspoon of salt (or more to taste)
Special equipment recommended:
  • One or two mini muffin tins. Mini muffin tins are about half the size of a regular muffin pan. The muffin openings are about 1-inch deep, and 1 3/4 inch wide at the top.
*It helps when baking with eggs to start with eggs at room temperature. If you don't plan ahead (that would be me, usually) you can put the egg in a bowl of warm water for a few minutes to gently take off the chill of the fridge.
1 Preheat oven to 400°F. Grease a mini-muffin tin. Put all of the ingredients into a blender and pulse until smooth. You may need to use a spatula to scrape down the sides of the blender so that everything gets blended well. At this point you can store the batter in the refrigerator for up to a week.
                               brazilian-cheese-bread-3.jpg brazilian-cheese-bread-4.jpg
2 Bake in the oven for 15-20 minutes, until all puffy and just lightly browned. Remove from oven and let cool on a rack for a few minutes.
Eat while warm or save to reheat later.


Sunday, 2 August 2015

Korean Festival in Wellington

                                       Image result for Korean flag

What a great day out in the city with the International Children's Group!!

On Saturday we went to the Korean Festival organized by the Korean Embassy at Shed 6 in Wellington.

Even the weather was good to us - it was mild and no wind in the capital! We all had a fab time!

When we went in, it was like being transported to Korea! The place was filled with music and people wearing traditional costumes. We were captivated by the intense smell of Korean food! Ah... Delicious! And of course, there were a lot of Koreans! The Korean community was heavily represented at the festival and it was great to see all of them enjoying to share their culture with us!

The children had a go at the traditional Korean instruments like the Kkwaenggwari (the traditional small gong) and the Janggu (the hour-glass shaped drum) among others. We saw a giant Bibimpap! Bibimbap is a traditional Korean dish that literally translates to "mixed rice". There was rice mixed with vegetables, eggs and some minced beef. There were also the Korean and New Zealand flag in the middle. This was pretty awesome! The Bibimbap was mixed by lots of people in the end with giant wooden spoons and shared with all the people around. A metaphor for the connection between Korea and New Zealand.

We also tried other Korean dishes like pork, meat and noodles all cooked with very interesting spices! But not too hot so it was very welcomed by all the children! The highlight of the event was the variety of performances by Korean groups from all over New Zealand.

A truly amazing day out with the group! Thank you Sandy for sharing your culture with us. Have a look at the pics below and enjoy a bit of Korean culture!

 Children trying the Korean instruments 


The giant Bibimbap!!


 We queued very patiently for our meals!


And then went to the harbour to have our lunch 'al fresco'!!


The amazing performances!!!


We all mixed and shared the Bibimbap!!


Other attractions at the festival!!


The children were very interested in the performances! Well done all of you!!


Thursday, 18 June 2015

Our Meeting About Poland! June 2014

It's so great to have members in our group from such a variety of nationalities! In June, our member Magda and her son Louis talked about their country of origin - Poland! Have you been to Poland? I went to Warsaw, its capital, about 10 years ago (wow! didn't realise was this long!!) when I was living in London with my husband Robert and I was pregnant with my first child, Ben. It was such an amazing trip! I still remember the beautiful old buildings and walking down Castle Square looking for nice restaurants and we found a great one where we tried the real beef stroganoff. Yum! Great memories!


We started our meeting with a new game where the kids had to talk in their chosen language introducing themselves and throwing the ball to the next person. It was a great way to "break the ice" and have fun at the same time! Then we followed with Magda's presentation about Poland. So nice to see the place where they come from and the beautiful photos from the country. Magda is also a photographer so the photos were really amazing! We also learned some words in Polish! Yep, that was quite a challenge! A real "Tongue Twister". After the presentation the kids did some colouring in of traditional Polish costumes and some of them also joined in to finish our World Map Puzzle!


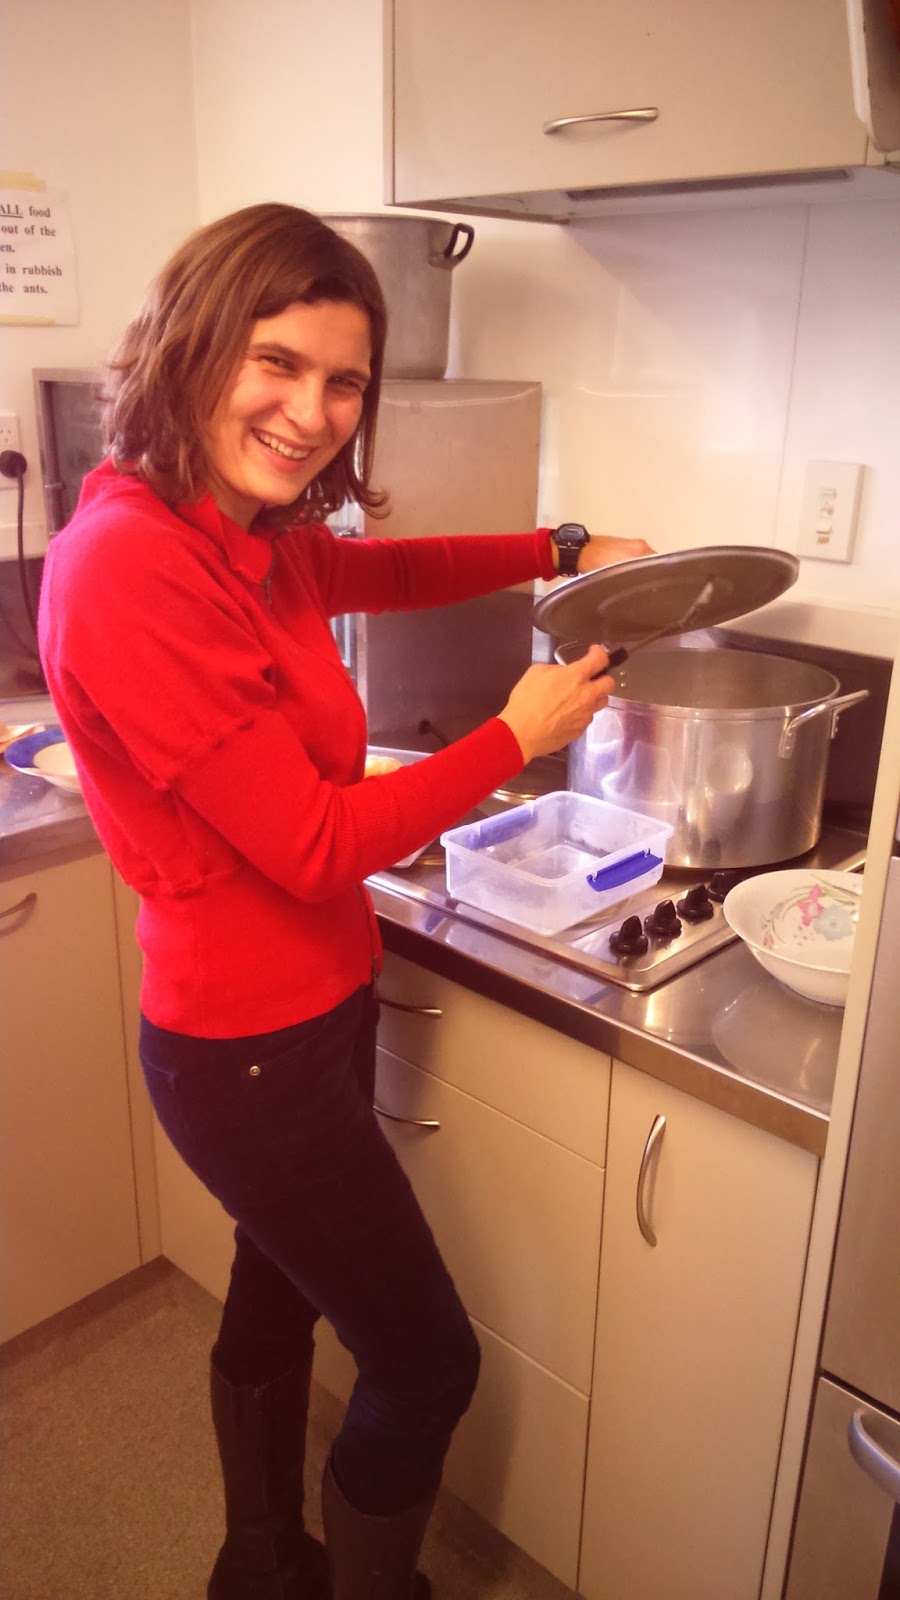
While the kids were having fun at the Art Table the parents were busy at the kitchen cooking some Pierogi. Do you know what this is? I'm sure you have seen it before but didn't know it is actually a very tradition food in Poland - it is a dumpling! It is boiled and served with melted butter and various fillings and toppings (meat, potatoes, cheese etc). Then we had Chrust for dessert - a Polish pastry dessert light and airy and usually sprinkled with powered sugar. Yum!


Thank you Magda and Louis for such a great presentation and bringing this amazing food to share with us!! Check out the recipes in the end of this blog! 


I believe that understanding other people's language, culture, habits and traditions is of great value for us as adults and extremely essential for our children to grow up respecting cultural differences and similarities.


Here are some pictures of the day! Enjoy!


 Magda and Louis presentation


Kids Colouring In


Our World Map!! Great way to learn while playing!


Parents having a cuppa


Magda rocking in the kitchen!


Yummie Lunch!!


World Map all finished! Well Done!


Pierogi ruskie (cheese and potatoe dumplings)


Filling

  • potatoes, cooked & mashed (1/2 cup instant or leftover mashed potatoes is fine too)
  • onion, minced & sauteed in butter until cleare
  • 14 teaspoon salt (I didn't added it as feta was very salty)
    1. Dough

  • 12 teaspoon salt
  • 2 tablespoons butter, cut in pieces
  • 1 large egg, at room temperature
  • 1 egg yolk, at room temperature
(or you can use pre made dumpling skins)

Directions

  1. Combine all of the ingredients listed under filling and refrigerate until ready to assemble pierogi.
  2. Combine flour, salt and butter in food processor.
  3. In a separate bowl, blend together egg, egg yolk, milk and sour cream.
  4. Add egg mixture to flour mixture and process until dough cleans sides of bowl and sticks together (the dough will be slightly sticky).
  5. Remove from processor, shape into a ball, wrap in plastic and chill for 3 hours or overnight.
  6. Cut dough into thirds; roll each section out on floured surface 
  7. Cut each round into (using a glass works well).
  8. Place about 2 tsp filling on each dough circle.
  9. Moisten outer edges with water and fold dough over to close.
  10. Seal edges by pressing gently with the back of a fork or pinching together with your fingers.
  11. In large pot, bring salted water to boil.
  12. Cook 12 pierogi at a time, reducing heat to a gentle boil; boil until pierogi float to the surface (about 5 minutes).
  13. Remove with a slotted spoon, drain on paper towel and transfer to serving dish.
  14. Repeat with remaining pierogi.
  15. At this point you can serve them warm, freeze them for later use or fry them in butter over medium heat, lightly browning both sides before serving.

CHRUST (twigs)

    450 g of wheat flour
    5 egg yolks
    pinch of salt
    1 tablespoon 90% alcohol (or 2 tablespoons rum)
    3/4 cup thick sour cream 
    fat for deep frying (e.g. canola oil, coconut)
    icing sugar to farrowing

Sift the flour, add egg yolks, a pinch of salt, alcohol and cream. Knead well to obtain a smooth dough ball. Replace wrapped in foil for 30 minutes to relaxed and rested (at room temperature).

After this time the dough roller well block to appear in the dough bubbles (15 - 30 minutes); strategic projections may also use the sheeter. All of this is aimed at injecting into the cake as much air - rool batter, folding, rolling Whip etc. After finishing the dough wrap with plastic wrap and chill for 30 minutes in the refrigerator.
Roll out chilled dough (thinly), cut out rectangles measuring about 12 x 3 cm. Each strip cut along the middle and threaded through the hole.

Fry in hot oil (175ºC) on both sides until golden brown. Drain on kitchen towel

Sprinkle with icing sugar.